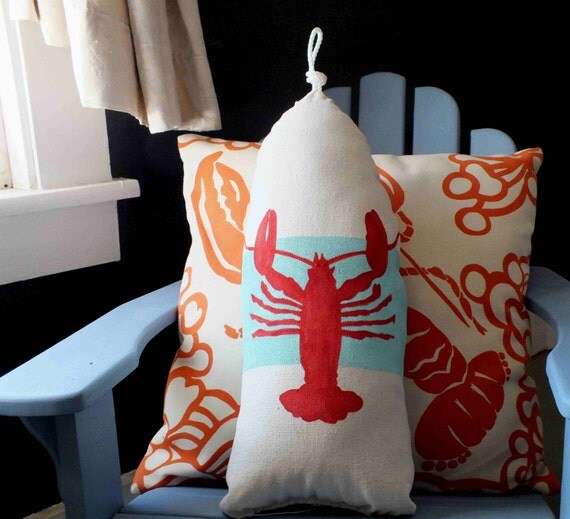
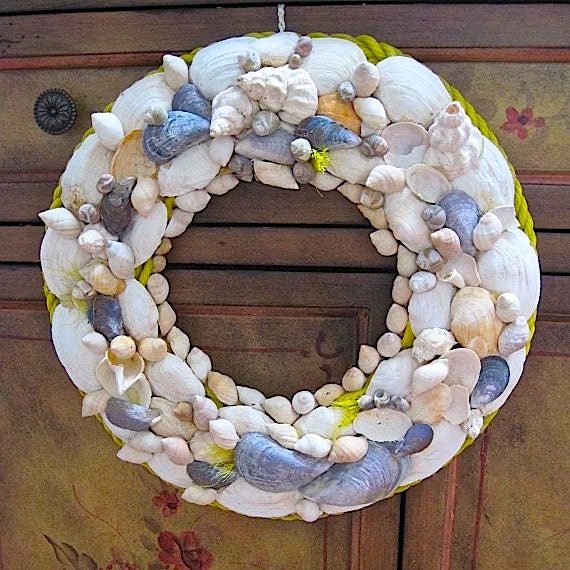
Find last week's "Featured Maine Artist of the Week" on our Handmade Maine Facebook page.
Thursday, July 24, 2014
Saturday, July 12, 2014
How to make your own "Farmhouse Chic" sign.
Yes, you can do this!
Yes, you can do this!
We've decided to freshen up our old farmhouse kitchen. Foot traffic, entertaining, and two new labs in the past few years have really left it's mark on what is already a pretty rustic space.
But I know you really want to know how to do this, so I'm going to get right to it.
This is easier then you think! Don't worry about being picky, or painting outside of the lines. It's supposed to be imperfect, that's what makes it so chic!
Find and old wooden-something.... it's imagination time. Flea markets, free piles, lawn sales or maybe it's been hanging around your own space and you didn't even know it! I had this old door panel in the gardening shed. It's very light weight. I like using door panels because they look like they've already been framed out.
I gave it a rough sanding, and wiped it down with a damp cloth.
Then I slapped some watered-down acrylic black paint on the board. No really, I wasn't fussy! I let the first coat dry, then added another coat. I watered down the paint to a milk-like consistency.You can go thicker. I wanted the paint to seep into the wood so I could see some of the grain. it's really up to you!
While the paint is drying, it's time for a little computer work. I opened up Microsoft Word, and scrolled around until I found a font that I liked. You'll need to highlight your font and make it large depending on the size you will need. I went up to 250 for this size. At first, I went too large, so play around, experiment, measure if you like. (I'm not much into measuring I admit.) I made the font a light color so I wouldn't use a ton of ink. After everything was printed, I taped it all together so it made one long banner, centered it onto my board, and taped the top edges of the paper onto the board so it would stay put.
Slide some tracing paper under your letters, and start tracing!
Before you remove the paper, peek under the paper and make sure all of your lines are clear. When it looks good, remove your banner.
Now you can start painting! I use acrylic paint and a round brush and I am constantly dipping my brush into water before I load it with paint. I like the paint to flow. I also have a little puddle of brown, and every so often I add a touch of brown to the white for a more vintage look. If I paint a bit outside of the lines, who cares? I'm pretty sure the paint police wont come knocking at my door.
Let it dry, then sand. I like to sand the corners and edges here and there. I also pass the sandpaper over the letters in spots.
Once you've got the look you want, water down some brown paint, or use a brown antiquing gel, and brush it on to the sanded parts, wiping it away as you go. You can coat your sign with some acrylic poly, or rub some Minwax over your entire sign. (follow directions on the Minwax.... you will need to buff once it dries, but it really gives a great warm look).
Of course, I couldn't leave it alone from there, and mounted my sign onto an old shutter. We screwed the sign right to the wall, but you could use any type of hardware to put on the back if you'd like. Or, you could drill a couple of holes to the top corners and run rustic rope through them.
If a large sign like this seems too daunting a task at first, start small. You'll be making your own signs in no time!
xo Jes
Friday, July 11, 2014
Thursday, July 10, 2014
Every Thursday I post a new "FEATURED ARTIST OF THE WEEK" on our Facebook page.
Go check out CHART metalworks story here!

Wednesday, July 9, 2014
Tuesday, July 8, 2014
Hello and welcome!
Handmade Maine began life as a FB page, and I decided that it was time for a blog, so we can easily share recipes, gardening tips, junking ideas and craft projects with you.
I'll be loading up some of our more popular Facebook posts to start. Please stay tuned for a Blueberry Ginger Cooler recipe, a tutorial on how to make your own hand painted sign and a Chive Blossom Vinegar recipe... and so much more to come!
xo Jes

FEATURED ART STORY OF THE WEEK

...Many
moons ago, six girls met online through artful blogging. Jes from Maine
invited the girls to her home in Whitefield for a full on sleepover and
art retreat. As the years have passed their correspondences have slowed
down, but the memory of that special friendship with
kindred-art-sisters lingers on, and probably always will. Once in a
while a sweet surprise will rekindle the
bond and friendship, as did recently when Mindy from Mass. sent Jes
from Maine a lovely little piece of her art.
...So the search for photos began this morning. I saved, edited, resized, made a collage, hit "save" again, then hit the garden for a bit of weeding therapy. As the heat settled into my limbs, causing me to work in lazy circles, I thought about how best to write the story. It occurred to me that I don't need to give you every detail of a weekend spent making, chatting, flea marketing, eating and enjoying a few good bottles of wine. What I should be doing is encouraging you to gather your own artful friends from near and far to do the same. The only part of this tale that can be replicated is the actual "doing" of the event. The experiences you'll share (and always will remember) will be unique to you and your gang of Art Pals.
...It's easy! Send the invites and make a space to work in. Ask your friends to bring supplies for sharing. (leave your prized paintbrush at home, this isn't the place). Make sure you have a table ready for everyone to unload and spread out their offerings. Ask everyone to bring a simple dish and a beverage. If they're spending the night, don't worry about where they will stay, pull together some air mattresses and have an old fashion pajama party. If folks are coming from "away", plan an afternoon visiting a place in your area that will inspire them. (In our case we went to Wiscasset, then on to the Montsweag Flea Market on Rt. 1). (We also share the love of junking, so this was simple). The last step... HAVE FUN and get creating! Just let the energy roll off of each other and please don't take yourselves too seriously, just live in the moment, and be.
article by Jessica Moreau-Berry
Subscribe to:
Comments (Atom)


